

Are you looking at a water softener hardness setting and wondering what number belongs there? In most cases, set it to the measured hardness of your untreated incoming water, using the unit your softener manual asks for. Do not set it to the hardness you want after treatment, and do not choose a local average just because it seems close.
That small setting can affect when a metered softener estimates that it needs to regenerate. If the setting is far from your actual supply, the system can regenerate too soon or wait too long. Fortunately, the first part is simple: start with a recent test result or a reliable utility value, then make sure the units match your controller.
This guide explains how to set water hardness on a water softener without guessing. It also shows when you should stop and use the model manual or call the installer instead.
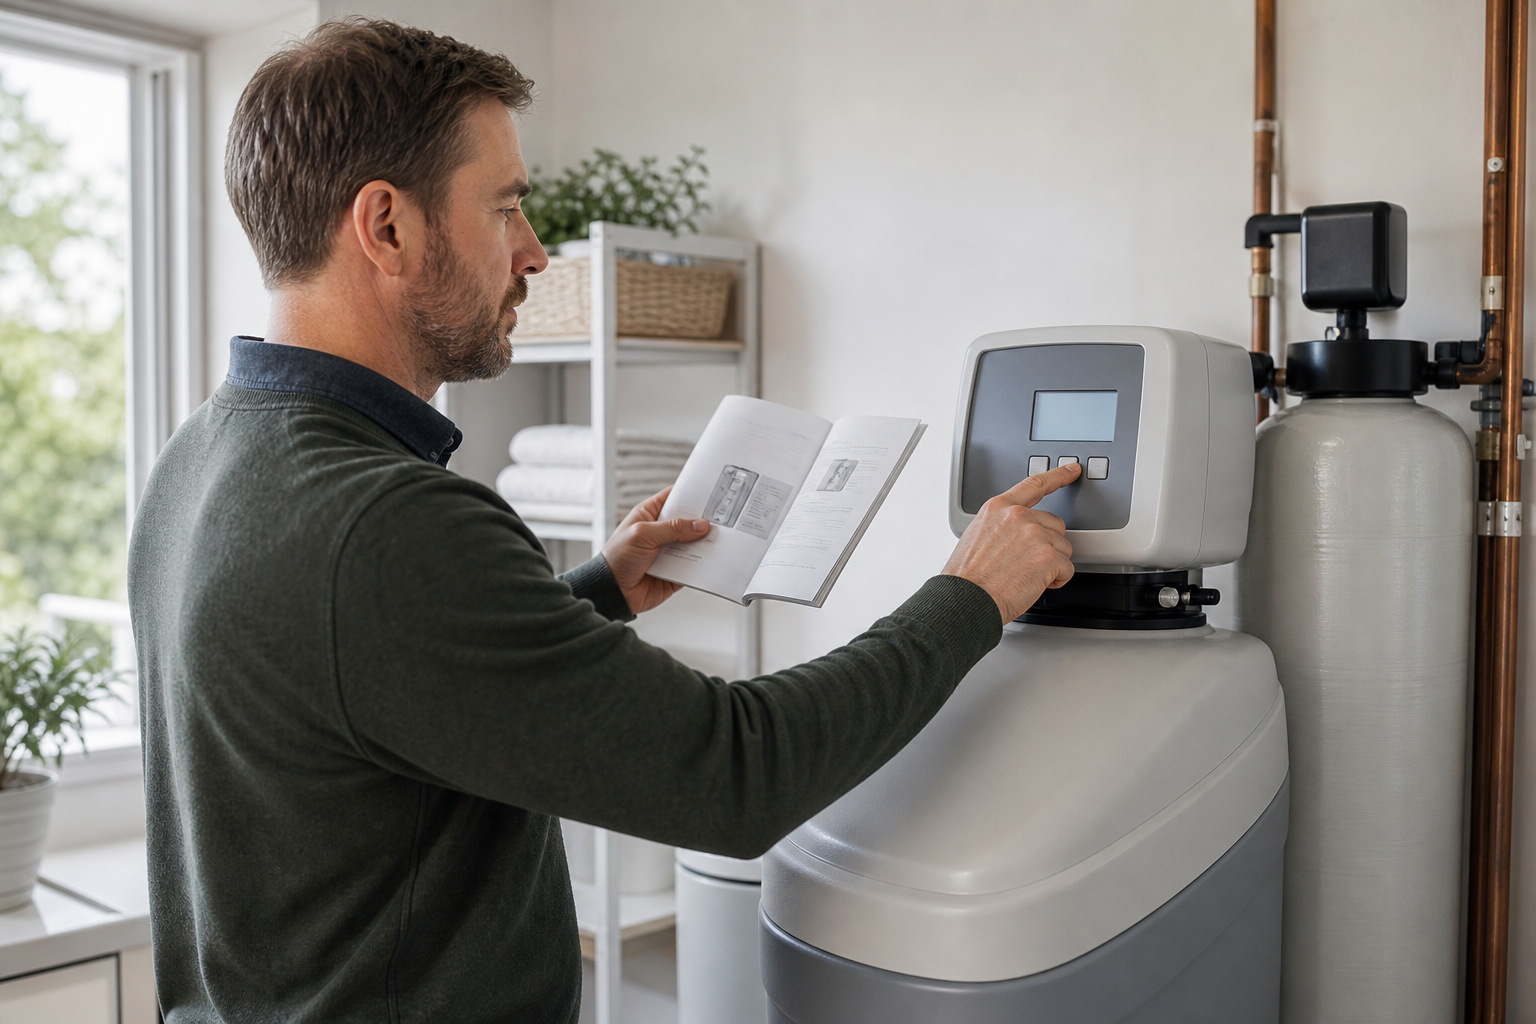

Table of Contents
Table of Contents
- What Should a Water Softener Hardness Setting Be?
- Find Your Untreated Water Hardness First
- Convert ppm to gpg When Your Softener Needs It
- How to Set Water Hardness on a Water Softener
- What Not to Change While You Set Hardness
- Check That the Softener Is Working Afterward
- Frequently Asked Questions
What Should a Water Softener Hardness Setting Be?
The direct answer is this: use the hardness of the water entering the softener before it is treated. Many controls label this as “hardness,” “feed water hardness,” or simply “H.” It is an input for the controller, not a target for the water leaving the softener.
Why does that distinction matter? A demand-initiated softener uses water use and programmed values to estimate how much softened water remains before regeneration. The Pentair Fleck 5810 and 5812 SXT manual describes feed-water hardness as an input used for capacity calculations on metered systems. A higher incoming-hardness value means the resin capacity is used faster in that estimate.
Your control may show the number in grains per gallon, written as gpg or gr, or in parts per million, written as ppm. It may also use milligrams per liter, written as mg/L. The setting is not the same thing as:
- The grain capacity printed on a softener.
- The pounds of salt used for regeneration.
- The time when regeneration starts.
- The desired hardness of treated water.
- A whole-house water test taken after the softener.
Some models expose only a few homeowner settings. Others show an installer menu with reserve, brine fill, capacity, valve, or cycle settings. Use the normal user setting when the manual identifies it. Do not enter a master or installer menu just to change a hardness value unless the manufacturer specifically directs you to do so.
Find Your Untreated Water Hardness First
What number should you enter if you do not have a test result? Pause before changing anything. The most useful number comes from a sample of water before the softener, not a kitchen tap that has already been softened.
You have a few practical ways to find it:
- Check a recent laboratory report. Look for total hardness expressed as calcium carbonate. Note both the value and its unit.
- Check your water utility’s report or ask the utility. This can be a good starting point for city water, although seasonal blending and neighborhood conditions can change the number.
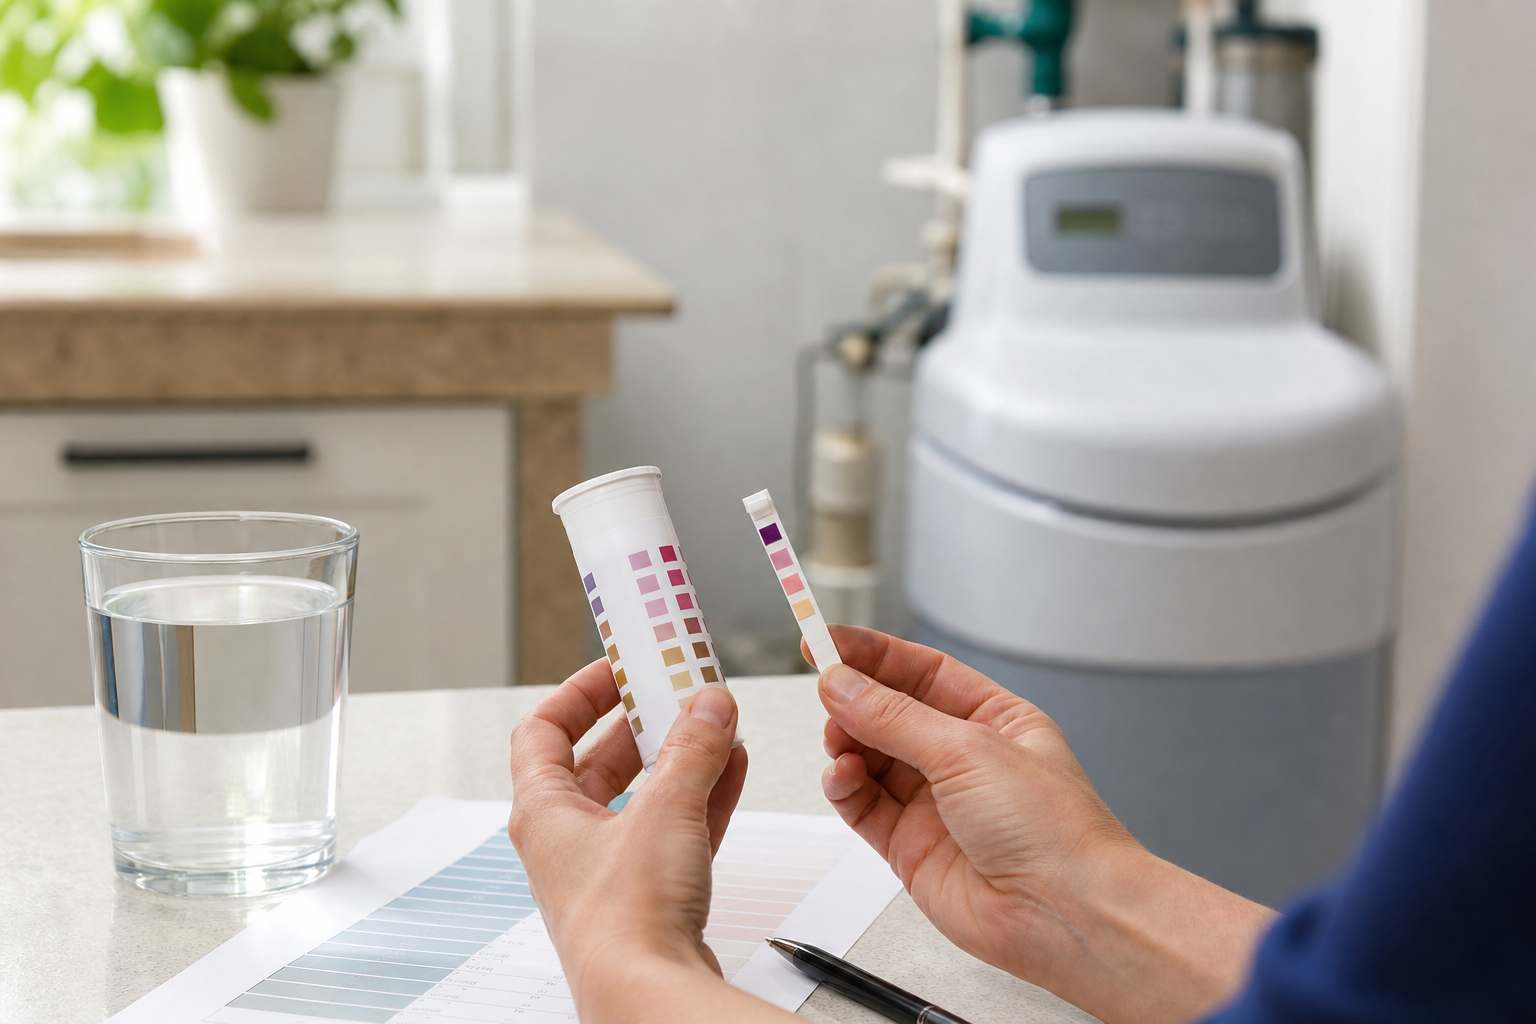
- Use a home hardness test. A drop-count kit often gives a more specific result than a basic strip. Follow the kit directions and test the untreated supply when you can access it safely.
- Test a private well through a certified laboratory. A full well-water result can also show iron, manganese, pH, and other conditions that matter before adjusting treatment.
The Rheem programming guide makes the key point clearly: there is no universal or normal hardness setting. It should match your incoming water. If you use a number supplied by a utility, record the date and source so you know what to recheck if scale or soap problems return.
Need help getting the number in the first place? Our guide to testing water hardness at home compares strips, drop kits, and laboratory testing. If you already have a strip result, see how to read water hardness test strips before you use it for a controller setting.
Convert ppm to gpg When Your Softener Needs It
Does your test report show ppm, but the control asks for gpg? This is common. Parts per million and milligrams per liter are normally equivalent for a hardness result reported as calcium carbonate. One grain per gallon is about 17.1 ppm or mg/L, according to Penn State Extension.
Use this conversion when your controller needs gpg:
gpg = ppm divided by 17.1
For example, a report that shows 171 ppm hardness works out to 10 gpg. A report showing 85.5 ppm works out to 5 gpg. Use the precision your controller accepts. If it accepts whole numbers only, follow the manual’s rounding direction. If the manual gives no direction, record the original test result and use a qualified water-treatment professional for a model-specific recommendation.
The reverse calculation is also useful when a controller uses gpg and a later lab report uses ppm:
ppm = gpg multiplied by 17.1
Do not use total dissolved solids, or TDS, as a substitute for hardness. TDS measures the combined amount of dissolved material. It cannot tell you how much of that number comes from calcium and magnesium. For a quick reference, our water hardness scale explains the common ranges and units.
How to Set Water Hardness on a Water Softener
The button sequence is different across brands and control heads, so the manual for your exact model is the authority for navigation. Still, the basic process is usually the same. Have your test result and the model manual ready before you begin.
- Confirm that you have the untreated-water value. Check that the sample point was before the softener, or that the utility value applies to your incoming supply.
- Confirm the unit on the control. Look for gpg, grains, ppm, mg/L, or the unit stated in the manual.
- Convert only if needed. Divide ppm or mg/L by 17.1 when the control needs gpg. Do not convert a gpg result again.
- Open the normal settings screen. Many electronic controls use a Settings, Select, Menu, or similar button. Stop if the display says installer, master, factory, or service and the manual does not tell a homeowner to continue.
- Enter the water-hardness value. Set the documented incoming-water number in the matching unit.
- Save and return to the home screen. Confirm that the displayed setting remains after you exit. Some controls leave the menu without saving when a button is not pressed within a short time.
- Write down the change. Record the date, value, unit, source of the hardness result, and model. This makes later troubleshooting much easier.
What if your screen asks for a number that does not match the units in the manual? Do not force a value into an unfamiliar menu. Take a photo of the screen, find the exact manual by model number, and ask the manufacturer or installer how that control expects hardness to be entered.
What Not to Change While You Set Hardness
It is tempting to adjust several settings at once when you see scale or spots. That makes it hard to know what changed, and it can make a correctly sized system less efficient. The hardness setting is only one part of a softener’s program.
Avoid changing these values unless your exact manual or qualified installer tells you to:
- Capacity or grain setting. This depends on the resin volume, valve setup, and regeneration program.
- Salt dose or brine-fill time. These settings affect how the system regenerates and can vary widely by model.
- Reserve or safety factor. Some controls calculate this automatically, while others use a fixed value.
- Backwash, rinse, and cycle times. These are installer-level settings on many systems.
- Iron compensation. Some manufacturer instructions account for iron differently, and some water conditions need treatment before a softener. Do not apply a general adjustment from an unrelated model.
If you use well water, hardness may not be the only finding. Iron, manganese, sediment, pH, and other conditions can change the treatment plan. Our guide to hard well water explains why a full test is more useful than treating a single symptom. You can also read about what a water softener does to well water before you assume that a softener handles every well-water issue.
Check That the Softener Is Working Afterward
How do you know whether the new setting is right? Give the system time to operate normally, then check the results in a way that matches your question. The control setting itself does not prove that treated water is soft.
Start with these checks:
- Look at the display after several days of normal use. The control should show normal service, not an error or a regeneration that never completes.
- Confirm salt and bypass position. The brine tank needs the salt type and level the manufacturer recommends, and the bypass should be in the service position when you test treated water.
- Test a treated-water tap. Use a hardness test that is appropriate for verifying low hardness. Follow the kit directions exactly.
- Compare with the untreated value. The inlet test and the treated-water test answer different questions, so label both sample points and dates.
- Watch for persistent symptoms. Repeated scale, hard-water spotting, poor lather, or an unusually frequent regeneration schedule can justify a manual check or service call.
If you are testing after a regeneration, follow your manual’s guidance on timing. A recent regeneration does not fix a wrong setting, an empty salt tank, a bypass left open, a fouled resin bed, or another mechanical issue. When a softener is not delivering the expected result, change one documented variable at a time and keep the rest of the program intact.
Frequently Asked Questions
Should I set my water softener hardness setting higher than my test result?
Use the exact model manual and your measured untreated-water result. Some manufacturers give a specific adjustment for certain conditions, but there is no safe universal buffer. A guessed higher number can cause more frequent regeneration, while a guessed lower number can leave the controller estimating too much capacity.
Is the hardness setting the same as the softener’s grain capacity?
No. The hardness setting describes the mineral load of incoming water. Grain capacity describes how much hardness the resin system can remove under its configured regeneration program. They work together, but they are different settings.
What if my water report lists mg/L instead of ppm?
For hardness reported as calcium carbonate, mg/L and ppm are commonly used as equivalent values. If your softener needs gpg, divide the mg/L result by 17.1. Check the manual if the control uses a different unit or a decimal format.
Can I use my city’s average water hardness?
It can be a temporary starting point for city water when it applies to your service area. A recent utility value or a test of your untreated water is better. Water sources and blends can change, so recheck when the symptoms or your utility report changes.
Does a hardness setting fix iron or a bad smell in well water?
No. A hardness setting only helps the softener estimate the hardness load it is designed to treat. Iron, odor, color, bacteria, and other well-water changes need the correct test and treatment guidance for that condition.
The Bottom Line
The correct water softener hardness setting is usually the tested hardness of your untreated incoming water, entered in the units your model requires. Start with a documented result, convert ppm to gpg only when needed, and change only the normal hardness setting that the manual identifies.
If the display, units, or water conditions do not match the manual, stop and ask the manufacturer or a qualified water-treatment professional. A careful setting and a follow-up test can help your softener work from the actual hardness in your home instead of a guess.