

Are your dishes coming out cloudy, your faucets getting a chalky ring, or your soap refusing to make a satisfying lather? Those clues can point to hard water, but they cannot tell you how hard your water is. The practical answer is to test it.
The main water hardness testing methods are strips, liquid-drop kits, a simple soap-bottle screen, and laboratory analysis. A local water report can also give you useful background. This guide shows you how to test water hardness at home, compare each method, read the number, and decide what to do next without guessing.
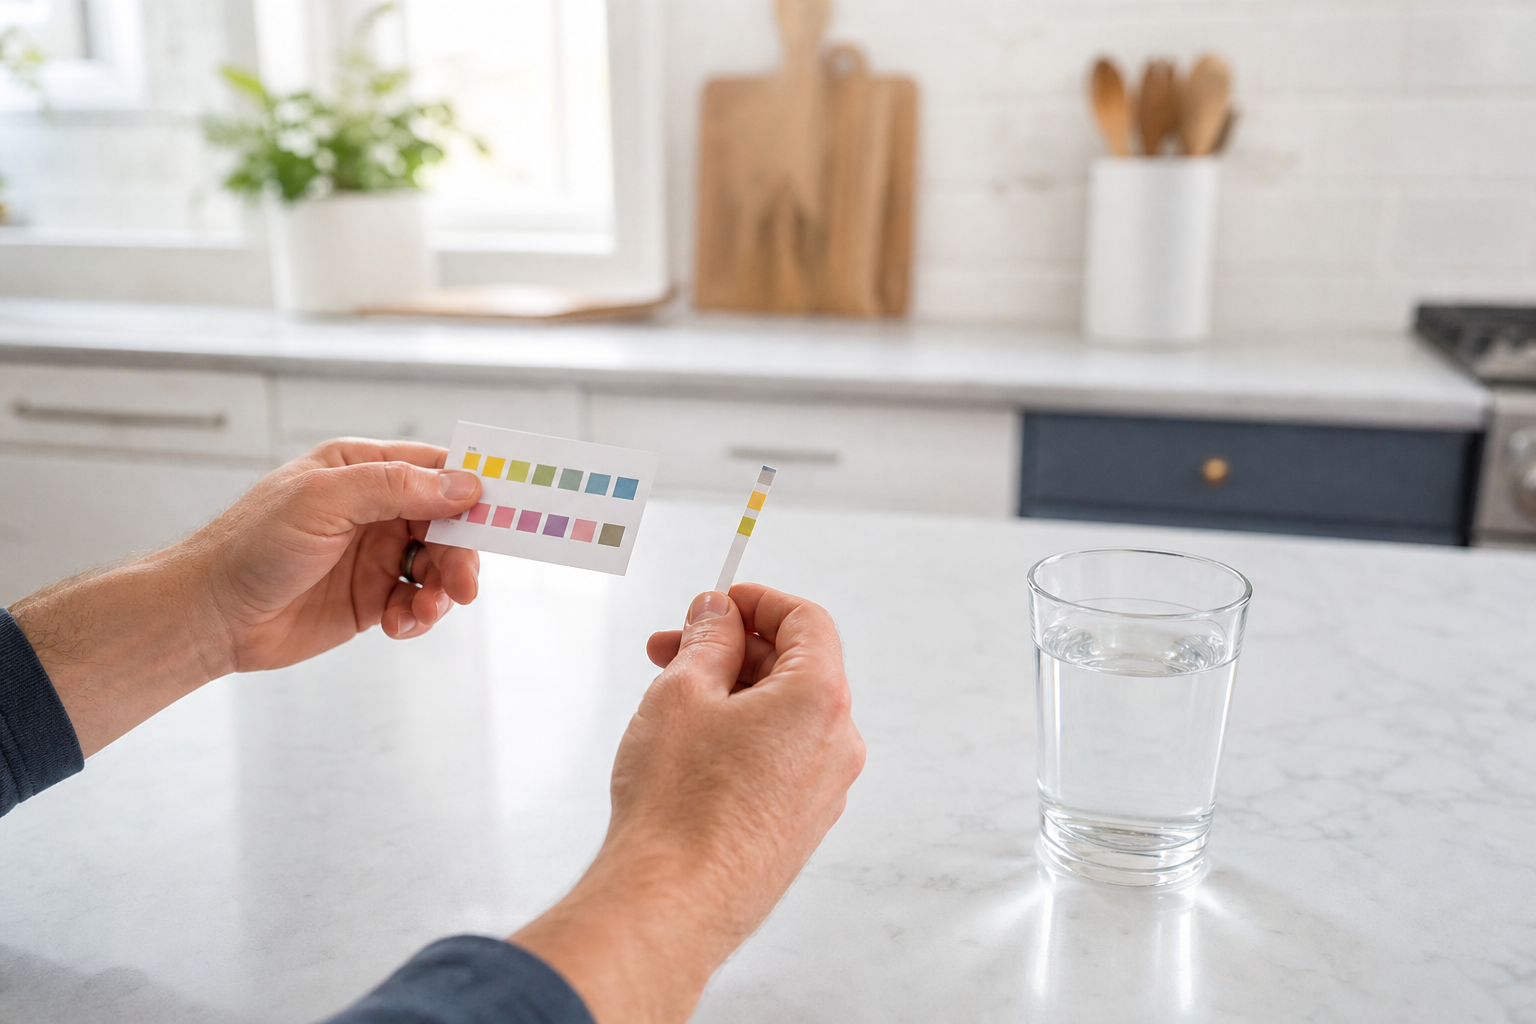

Table of Contents
Table of Contents
- What water hardness measures
- Four ways to test water hardness at home
- How to read the water hardness scale
- Water hardness testing methods compared
- Get a cleaner home test result in five steps
- What to do after you get a result
- Frequently asked questions
What water hardness measures
Water hardness is mainly a measurement of dissolved calcium and magnesium. According to the U.S. Geological Survey, those minerals are picked up as water moves through soil and rock. The result is not usually a drinking-water health concern by itself, but it can be a daily nuisance: soap scum, spots on glasses, scale on fixtures, and mineral deposits in water-using equipment.
That distinction matters. A hardness result tells you about calcium and magnesium. It does not tell you whether water is free of bacteria, lead, nitrate, PFAS, or other contaminants. If you use a private well or have a specific safety concern, pair a hardness reading with the test plan recommended by your local health department or an appropriate certified laboratory. The EPA’s private-well guidance is a useful starting point for deciding what else to test.
Most home tests report hardness as either milligrams per liter (mg/L) or parts per million (ppm) as calcium carbonate. For this purpose, mg/L and ppm are used interchangeably. Water-softener settings often use grains per gallon (gpg), which is a different unit. One grain per gallon is about 17.1 mg/L as calcium carbonate.
Four ways to test water hardness at home
1. Check your local water report first
If you receive municipal water, start with your utility’s annual Consumer Confidence Report. The EPA explains how to find a Consumer Confidence Report, and some utilities include hardness or the calcium and magnesium values that help explain it. This is a free way to understand the general source water in your area.
Still, a utility report is not a direct test of the water at your kitchen sink. Water treatment, plumbing, a water softener, and seasonal changes can affect what you want to know at home. Use the report as context, then take your own sample if you are sizing treatment equipment or troubleshooting a specific problem.
2. Use water hardness test strips for a quick screen
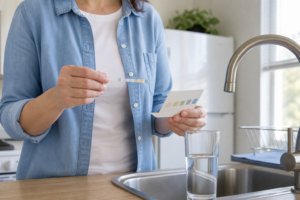
Test strips are the quickest way to get a ballpark result. You dip a strip in a fresh sample, wait for the kit’s stated time, and compare its color pads with the included chart. They are useful when you want to know whether your water is roughly soft, hard, or very hard.
For a more dependable comparison, collect the sample in a clean glass, follow the timing exactly, and read the strip in good natural light. Do not use a strip that has been left open in a humid bathroom or a sample taken immediately after a softener regeneration cycle. If the result is close to a treatment decision point, repeat the test or confirm it with a drop kit. Our guide to reading water hardness test strips explains the timing and color-chart steps in detail.
3. Use a liquid-drop kit for a more precise home reading
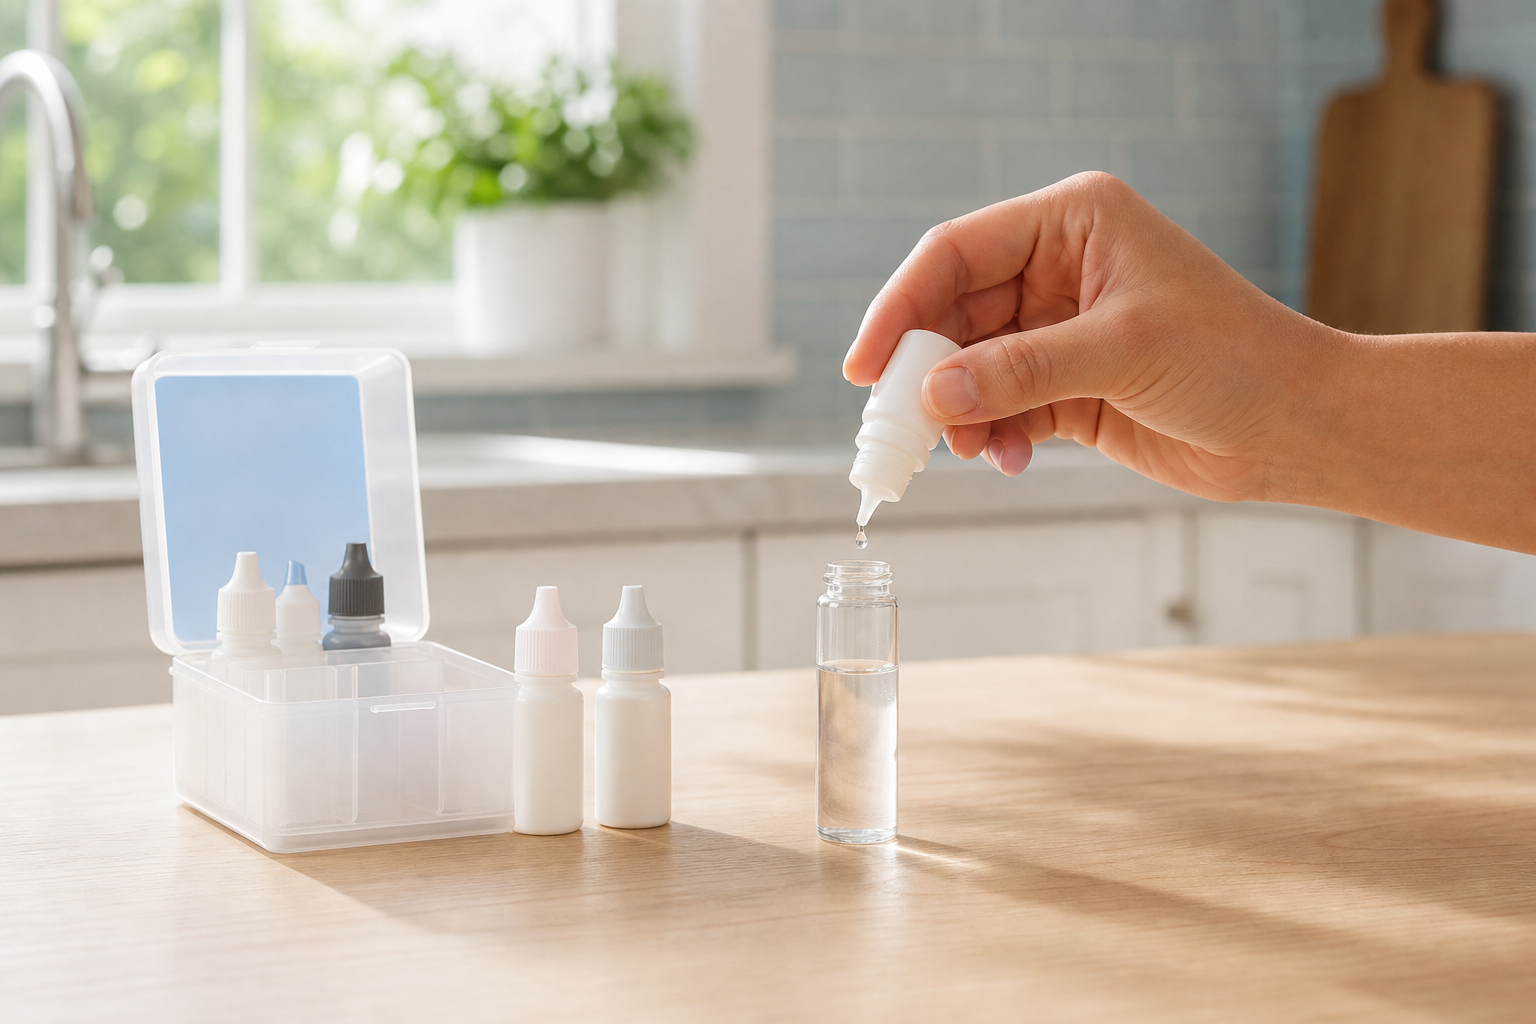
Liquid-drop kits use titration. You add drops of a reagent to a measured water sample until the color changes, then use the drop count and the kit’s instructions to calculate hardness. This extra step makes them a strong option for setting or checking a water softener because they usually give a narrower reading than a color strip.
Accuracy still depends on the instructions. Use the supplied vial, measure the stated sample volume, count every drop, and record the result with the date. Want to check whether your treatment is working? Take one sample before the softener and one after it, then compare the two. Our guide to a water softener that is not working can help you make sense of an unexpected result.
4. Try the soap-bottle test as a rough clue
The soap-bottle test is a simple screen, not a measurement. Add a small amount of plain liquid soap to a clear bottle of water, shake it, and watch for suds and cloudy residue. Hard water can make it harder for soap to lather because calcium reacts with soap to form soap scum, as USGS explains.
This method can support what you are seeing around the house, but it cannot give you ppm or gpg. Skip it when you need a number for a softener setting, an appliance decision, or a documented record.
When a laboratory test makes more sense
Use a laboratory when you need a formal result, suspect more than a hardness issue, or use a private well. A lab can test hardness alongside the other items that matter for your water source. That is more useful than treating based on a single symptom. If you own a well, start with our guide on how to get well water tested and ask a local authority which tests fit your area.
How to read the water hardness scale
The USGS general classification uses mg/L as calcium carbonate:
| Result | USGS classification | Approximate gpg | What you may notice |
|---|---|---|---|
| 0-60 mg/L | Soft | 0-3.5 gpg | Soap lathers easily and scale is less likely. |
| 61-120 mg/L | Moderately hard | 3.6-7.0 gpg | You may notice spots or use more soap. |
| 121-180 mg/L | Hard | 7.1-10.5 gpg | Scale and soap scum can become regular chores. |
| More than 180 mg/L | Very hard | More than 10.5 gpg | Scale can be more persistent in fixtures and water-heating equipment. |
Why are these ranges useful? They give you a shared language for comparing a strip, a drop-kit result, and a local report. They do not automatically tell you to buy a softener at one exact number. Your household size, water use, appliance concerns, and whether the sample is before or after existing treatment all matter. See our full water hardness scale guide for conversions and examples.
If a softener is already installed, use the hardness reading from untreated water when you set up or adjust the unit. Then confirm the softened-water result separately. A large difference between the two tells you the system is doing work. A small difference is a reason to investigate the settings, salt supply, resin condition, or service needs.
Water hardness testing methods compared
Which method fits the decision in front of you? Use this comparison as a starting point.
| Method | What it tells you | Best use | Main limitation |
|---|---|---|---|
| Utility water report | A source-water or distribution-area baseline | Free background for municipal water | It is not a direct sample from your faucet. |
| Test strip | A color band or hardness range | Quick screening and routine checks | Nearby colors can be hard to distinguish. |
| Liquid-drop kit | A numerical result based on the endpoint and drop count | Softener setup and before-and-after checks | The result depends on sample volume, drop counting, and following the kit directions. |
| Soap-bottle screen | A visible lather and cloudiness clue | A no-cost first look | It cannot report ppm or gpg. |
| Laboratory analysis | A documented hardness result, often alongside other requested tests | Private wells, broader water-quality questions, and formal records | It requires sample handling and more turnaround time than a home kit. |
If you are setting a softener or making a treatment purchase, use a method that reports hardness in a stated unit. A drop kit is practical for many home decisions. A laboratory is the better fit when you need documentation or need to investigate more than hardness. A strip is useful when a broad range is enough.
What if two methods disagree? Repeat the home test with a fresh sample from the same faucet, check the unit on each result, and follow the timing or drop-count directions exactly. Do not average a strip range with a drop-kit number or a utility-wide report with a faucet sample. If a repeated difference could change a treatment decision, use a laboratory or ask a qualified local water professional to confirm the result.
Do not confuse a TDS meter with a water hardness test. Total dissolved solids can change for reasons other than calcium and magnesium, so a TDS result cannot be converted into a reliable hardness number. Use a kit that specifically tests total hardness when hardness is your question.
Get a cleaner home test result in five steps
Want the most useful reading from a home kit? A little sample discipline goes a long way. Use the same routine each time so a later retest is something you can actually compare.
- Choose an untreated sample point when possible. If you are checking raw hardness for a softener decision, sample before existing treatment. If you are checking whether a softener works, take a separate sample after it.
- Use a clean glass or the kit vial. Soap residue can confuse a soap-screening test and can make any sample harder to trust.
- Run cold water briefly. This helps you sample the water in the supply line rather than water that has been sitting in the faucet.
- Follow the kit’s timing and sample-volume instructions. Don’t estimate a drop count or read a strip after the stated window has passed.
- Record the result and repeat if it surprises you. Note the date, unit, and location. A second test is inexpensive reassurance when the first color match is unclear.
If you have already installed a softener, this same routine gives you a useful before-and-after check. It also helps you explain the issue clearly if you later call a water-treatment professional. A hardness kit does not replace a broader water-quality test, but it can prevent a treatment purchase based only on a symptom.
What to do after you get a result
First, write down the result, unit, test method, date, and where the sample was collected. That small record is useful when you retest after a softener adjustment or after moving into a new home.
Next, look at the problem you are trying to solve. Are you mainly seeing spots and scale? Is a softener already installed but not reducing hardness? Or are you choosing equipment for a new household? Household demand matters alongside hardness, so do not treat one test result as the whole answer.
If your report or test raises a concern beyond hardness, do not assume a water softener will solve it. A softener is designed for hardness minerals, while filtration, reverse osmosis, disinfection, or another targeted approach may be needed for different water issues. Our home water filtration guide explains how treatment types answer different problems.
Frequently asked questions
Can you test water hardness at home?
Yes. Test strips and liquid-drop kits can measure hardness at home. Strips are convenient for a quick screen, while liquid-drop kits are better when you need a more precise number for a softener setting or before-and-after comparison.
Is ppm the same as mg/L for water hardness?
For water hardness reported as calcium carbonate in typical home-water guidance, ppm and mg/L are commonly used interchangeably. Check the kit label so you know the result is expressed as calcium carbonate before comparing it with a hardness chart.
What hardness number means you need a water softener?
There is no universal cutoff. Hardness above 120 mg/L can make scale and soap scum more noticeable, but the right choice depends on your household, appliances, budget, and water-treatment goals. Test first, then compare the result with your actual problems.
How often should you test water hardness?
Test when you move, install or adjust a softener, notice a change in scale or soap performance, or want to confirm treatment. Private-well owners should also follow local testing guidance for their broader water-quality needs.
The bottom line
The best water hardness testing method depends on how exact you need the answer to be. A strip can tell you whether hard water is likely. A liquid-drop kit can give you a better number for checking a softener. A laboratory test can put hardness in the context of your full water quality.
Start with a fresh sample, record the unit, and use the USGS hardness scale to interpret the result. Once you know your number, you can decide whether a treatment conversation is worth having, instead of spending money based only on cloudy dishes or a chalky faucet.