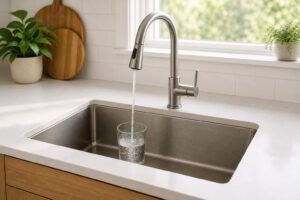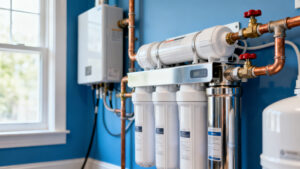


Has your drinking-water faucet slowed to a thin stream? Reverse osmosis low pressure is one possible explanation, but the stream alone cannot tell you where the problem starts. Recent water use, a blocked supply path, or a system fault can produce similar symptoms.
Start by noting what changed, comparing other cold taps, and looking at the system without taking it apart. These checks can help you give support a useful account of the problem before you buy parts. They cannot confirm a failed membrane, tank, or pump.
For your installed reverse osmosis (RO) system, keep the exact model manual nearby and limit these checks to observation. For hazards or hands-on work, use the stop-and-call checklist below.
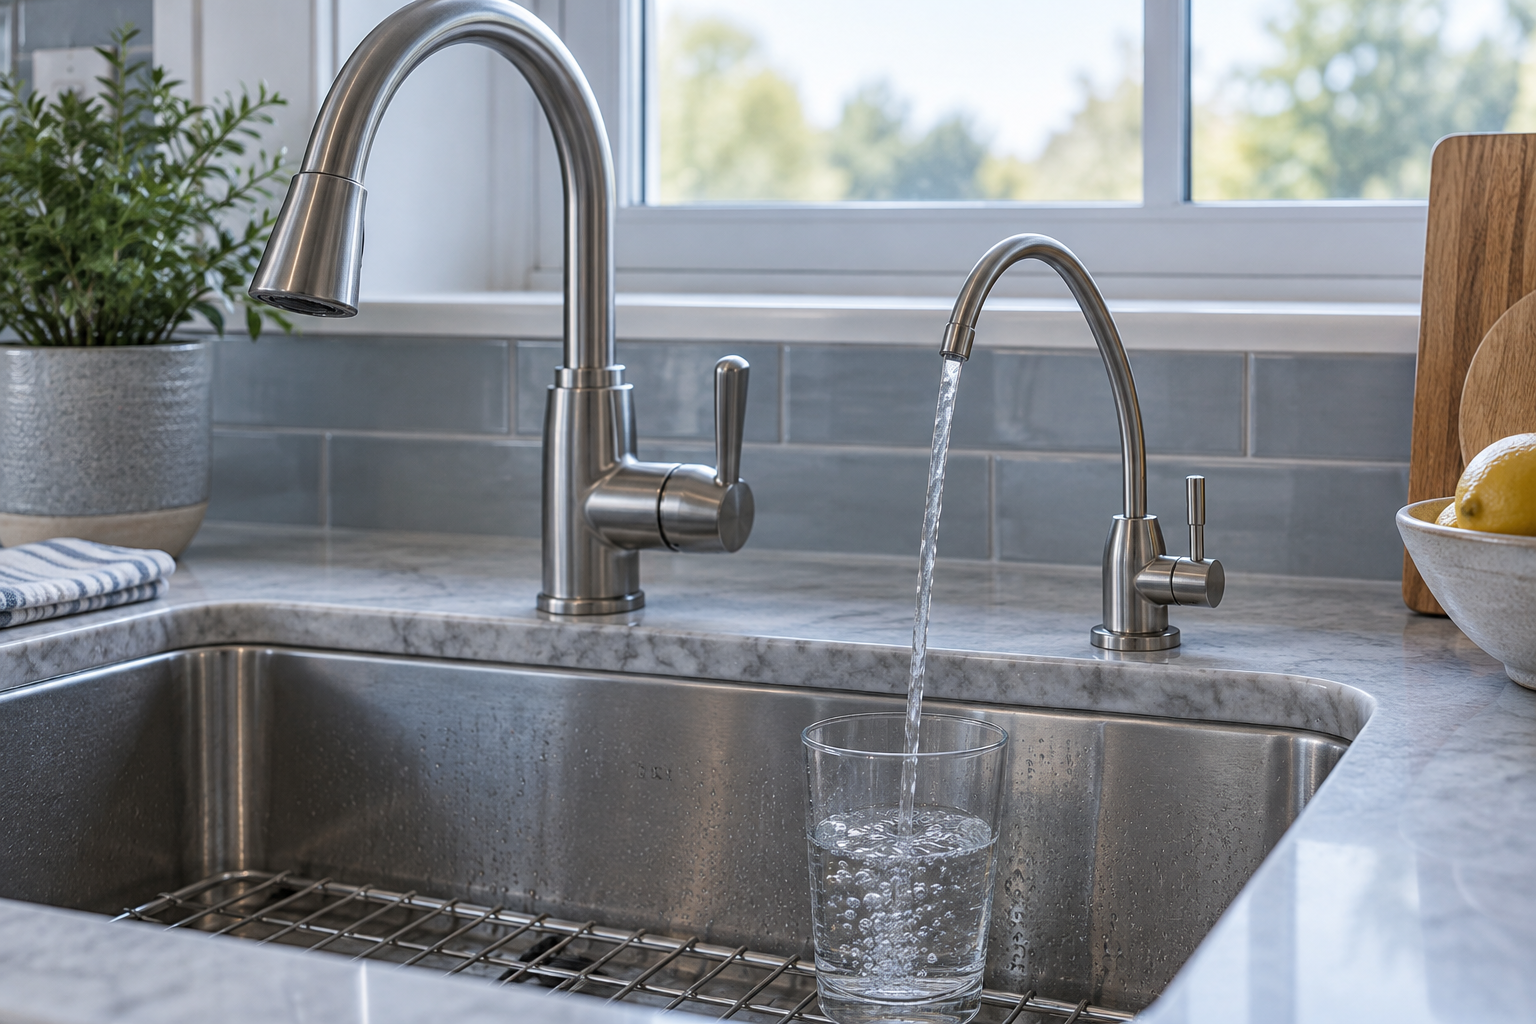

Table of Contents
Table of Contents
- Separate Low Flow From Low Pressure
- Reverse Osmosis Low Pressure: Start With the Symptom
- Inspect What You Can See
- Follow the Branch for Your Installed System
- When to Stop and Call for Service
Separate Low Flow From Low Pressure
Flow is the amount of water delivered over time. Pressure is the force driving it. A slow faucet tells you about delivery, not the pressure at the system inlet. EPA’s point-of-use RO guidance explains that RO uses pressure to push water through a membrane.
Two pressure terms need to stay separate:
- Feed-water pressure: the pressure of water entering the RO system from your supply.
- Tank air precharge: the air pressure specified for a storage tank under the manual’s stated empty-tank conditions.
A feed-pressure requirement is not a tank setting. Both depend on the exact model and measurement conditions.
If support needs a pressure reading, ask where and under what operating conditions it must be taken. A strong kitchen cold tap does not prove the RO inlet meets its requirements.
Reverse Osmosis Low Pressure: Start With the Symptom
Is the problem confined to the RO faucet? Briefly compare its behavior with the ordinary kitchen cold tap and another cold tap during normal use. This is a symptom comparison, not a pressure measurement.
- Several cold taps are weaker than usual. Record when it began and which taps changed. Check for a known supply interruption; ask your utility, building manager, or plumber as appropriate.
- Only the RO faucet is slow. Note whether it starts weak or slows during dispensing. Continue with visible checks and the model manual.
- Flow changed after service. Record the work date, parts listed, and first use afterward. Contact the installer or check the documented return-to-use steps.
- A display shows an alarm. Record the exact code, lights, and sound pattern. Consult the matching model’s fault section before further use.
Did the change follow filling a large pot, a water interruption, or work beneath the sink? Write that down. For a system with storage, recent demand can matter. For a newly serviced system, the required startup steps may matter instead. Don’t keep drawing water just to repeat the symptom while you are trying to establish whether storage can recover.
APEC’s slow-output guide for RO-45 and RO-90 models lists blocked feed, low input pressure, excessive demand, and component faults as possible causes. That list shows why a slow stream is not enough to select a replacement part. It is not a diagnosis for every RO model.
Inspect What You Can See
Can you see the tubing and valves without moving the equipment? Use the manual’s diagram to identify them.
Look for a tube trapped behind stored items, a sharp bend, a visibly damaged line, or moisture beneath a connection. You may move a loose household item if you can do so without touching the system. Don’t pull tubing, straighten a damaged line, loosen a fitting, or lift a connected tank.
Compare visible valve positions with the manual’s normal operating diagram. If a position looks wrong after recent work, tell the installer. Don’t force a stiff handle or turn an unidentified valve to see what happens.
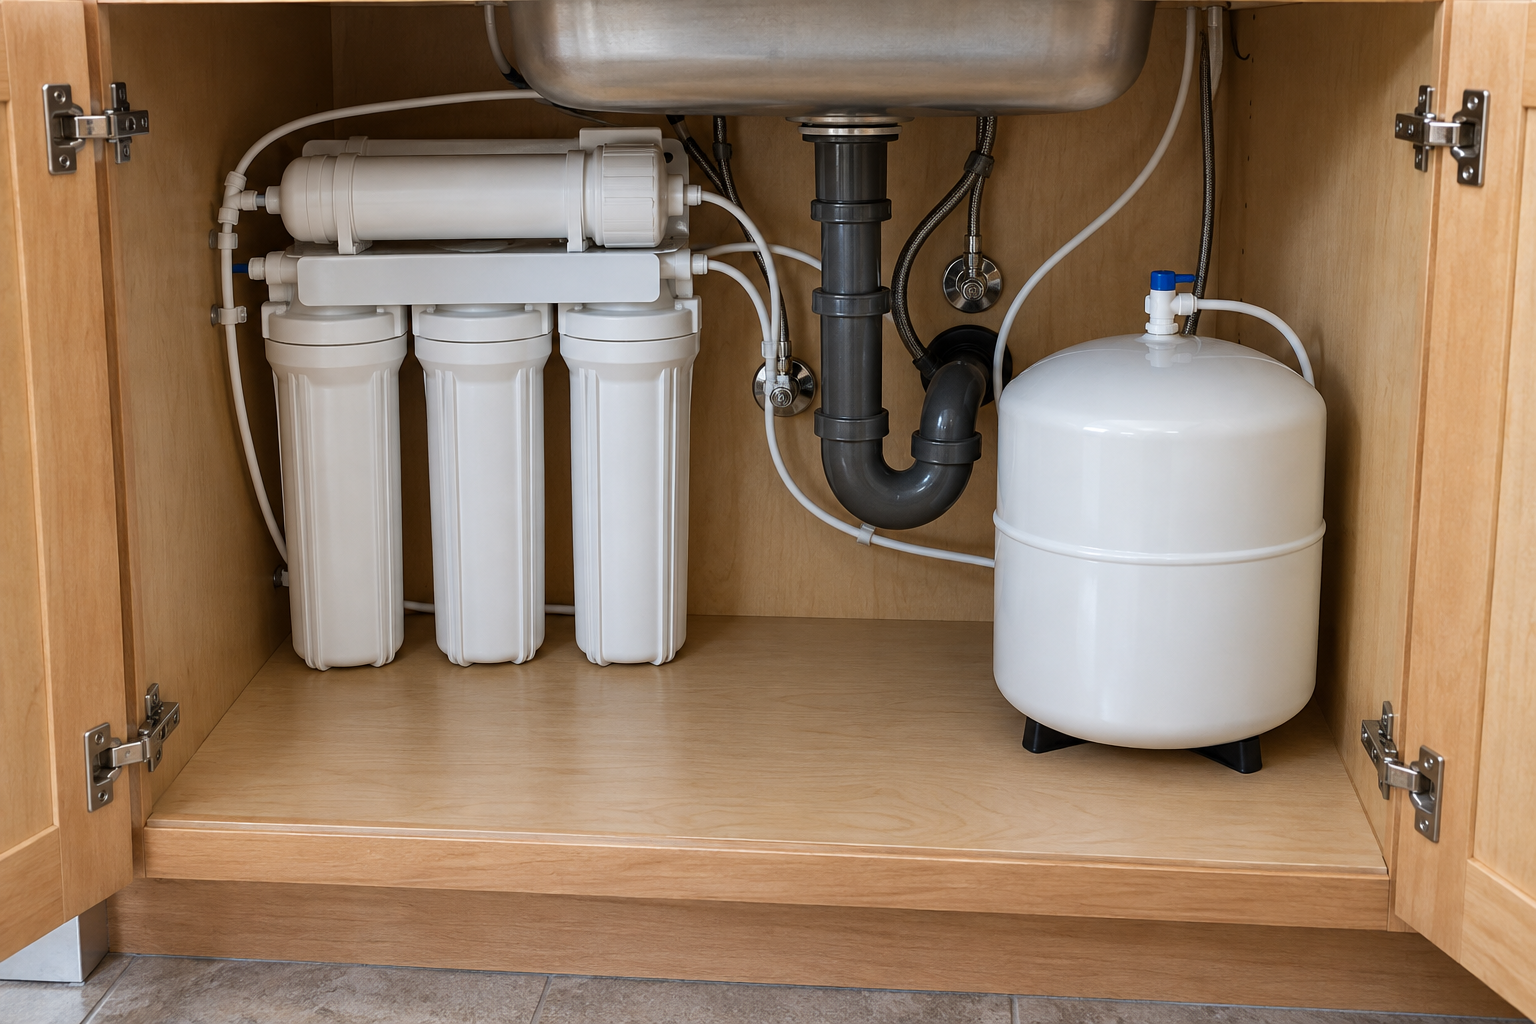
Next, check the service record. Which cartridges were fitted, and when? Was the change in flow sudden after replacement, or gradual beforehand? Record missing information as unknown.
A filter that is due for attention is a reason to consult the maintenance instructions, not proof that it caused the symptom.
For longer-term purchase and upkeep planning, use the RO ownership cost guide. It is not a repair-price guide or a diagnosis of this fault.
Follow the Branch for Your Installed System
Use the branch that matches the equipment already in your home. If you aren’t sure which layout you have, our tank versus tankless RO guide explains the distinction. You do not need to choose a new format to investigate a slow faucet.
If Your System Has a Storage Tank
Does flow start normally and then fade after drawing water? Note the recent demand and the length of time the system was left unused afterward. Use the model manual’s refill guidance, not a generic waiting period from another brand.
When you suspect the RO tank is not filling, describe the observation rather than declaring the tank empty. For example: “After the manual’s refill period, the faucet still slowed immediately.” Don’t lift or shake a connected tank to judge its contents.
If delivery stays low after the refill period, ask for model-specific service assessment. Do not press the tank’s air valve or add air as an experiment; precharge checks require the specified empty-tank conditions.
If Your System Has Powered Controls
Record the display before any reset. Is it showing normal use, a flush cycle, a filter reminder, or a fault? Match the lights and sounds to the exact manual for your unit.
For example, the APEC ROTL-600/600PH manual, version 1.3 distinguishes water-leak protection from pump protection and directs low-flow concerns to cartridge assessment and support. Those meanings apply to that documented model family, not every powered RO unit.
Don’t open the case, reconnect internal wiring, or repeatedly restart a unit to defeat an alarm. A pump sound or error light alone does not establish that you need a new pump. Ask support to interpret the recorded pattern.
When to Stop and Call for Service
Stop if you see leaking water, damaged tubing, wet electrical parts, or a fault you cannot identify, or if you suspect contamination. Follow the model’s safe shutdown instructions only where you can do so safely. Don’t reach into water to unplug equipment. Seek qualified help if safe access is uncertain.
Also stop when the next diagnostic step requires removing a fitting, draining or repressurizing a tank, opening a housing, altering wiring, or changing or calibrating a control setting. Never bypass a safety device. These steps require qualified, model-specific guidance, even if you find a procedure online.
Send support a short record:
- Model number and manual revision, plus a photo of the dry, accessible label.
- When the symptom began and whether other cold taps changed.
- Whether flow starts weak, fades, or stops completely.
- Recent water use, supply interruptions, and service dates.
- Visible tubing concerns, moisture, or the exact alarm pattern.
Ask what evidence is needed before approving parts. If the discussion becomes a broader treatment replacement decision, use the water filtration guide separately. A slow faucet alone does not decide which treatment you should buy.