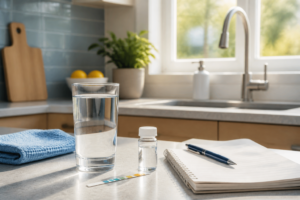

Have you dipped a water hardness test strip, watched the pads change color, and then wondered what you are supposed to do with the chart? You are not alone. A strip can give you a useful starting point, but only if you follow the directions for that exact kit. The dip time, wait time, color order, and reporting units are not universal.
The simplest rule is this: use a fresh water sample, follow the package timing, and match the colors only after the listed reaction time. Then write down the result, the unit, the faucet, and the date. That small record makes the reading much more useful when you compare it with our water hardness scale or decide whether a bigger test is needed.

Table of Contents
Table of Contents
- The quick answer
- What a hardness strip can tell you
- How to read water hardness test strips step by step
- How to understand the units on the chart
- Mistakes that can throw off a strip result
- What to do after you read the strip
- Frequently asked questions
The Quick Answer
To read a water hardness test strip accurately, compare its color pads to the chart that came with the same kit after the stated reaction time. Do not borrow a chart from another brand, estimate the wait time, or assume that every color means the same number. A strip is usually best for identifying a range, not for making a precise equipment decision on its own.
Why the caution? Water hardness generally reflects dissolved calcium and magnesium, but test-strip chemistry and color scales vary. The U.S. Geological Survey explains that hardness is commonly discussed as dissolved calcium and magnesium and is often reported as milligrams per liter of calcium carbonate in its hardness overview. Your kit may display that same idea as ppm, mg/L, grains per gallon, or color blocks.
Fortunately, you do not need to memorize the chemistry. You need a clean sample, the instructions that came with your strip, and a careful color comparison in good light.
What a Hardness Strip Can Tell You
A hardness strip is a practical home screen. It can help you see whether your water falls into a lower, middle, or higher hardness range according to that kit’s scale. That is helpful when you are trying to make sense of spots on glassware, mineral buildup on fixtures, or soap that does not rinse as easily as expected.
What does it not tell you? A hardness result does not tell you whether water is safe to drink, whether it contains bacteria, lead, nitrate, or other contaminants, or which treatment system you should buy. EPA’s home drinking-water testing guidance makes the larger point: choose a test that matches the question you need answered. A hardness strip answers a narrow mineral-content question.
If you have not bought a strip yet, the first step may be our water-hardness testing guide, which explains when a strip, drop-count kit, utility report, or laboratory test fits the job. A simple no-kit soap-lather check can also be a useful clue, but it cannot produce a hardness number.
How to Read Water Hardness Test Strips Step by Step
The exact instructions on your package win whenever they differ from a general guide. Some strips are dipped and removed quickly, while others use a different sequence or reaction time. Use this process as a careful checklist, then follow the wording on your kit.
1. Start With a Fresh, Clean Sample
Use a clean glass or cup and take water from the faucet you want to understand. If you are checking water after a softener, use a faucet that reflects the treated water, not an outside spigot that may bypass the system. Avoid a glass with soap, food residue, or cleaning-product film because residue can interfere with a color-based test.
If your kit says to let water run first or specifies a sample temperature, follow that instruction. Record which faucet you used. A reading from a kitchen faucet, a raw-well tap, and an outdoor line may not represent the same water path.
2. Dip Only as Long as the Kit Says
Hold the dry end of the strip and immerse the reactive pads as directed. Do not rub the pads, touch them with wet fingers, or leave them underwater longer because it feels safer. More time is not more accurate when the manufacturer has designed the strip for a particular exposure.
After removing it, use the package instructions for excess water. Some strips call for a gentle shake or a brief drain, while others do not. Keep the strip level if the instructions say to do so. The goal is to let the pads react consistently, not to improvise a technique.
3. Time the Reaction, Then Match the Colors
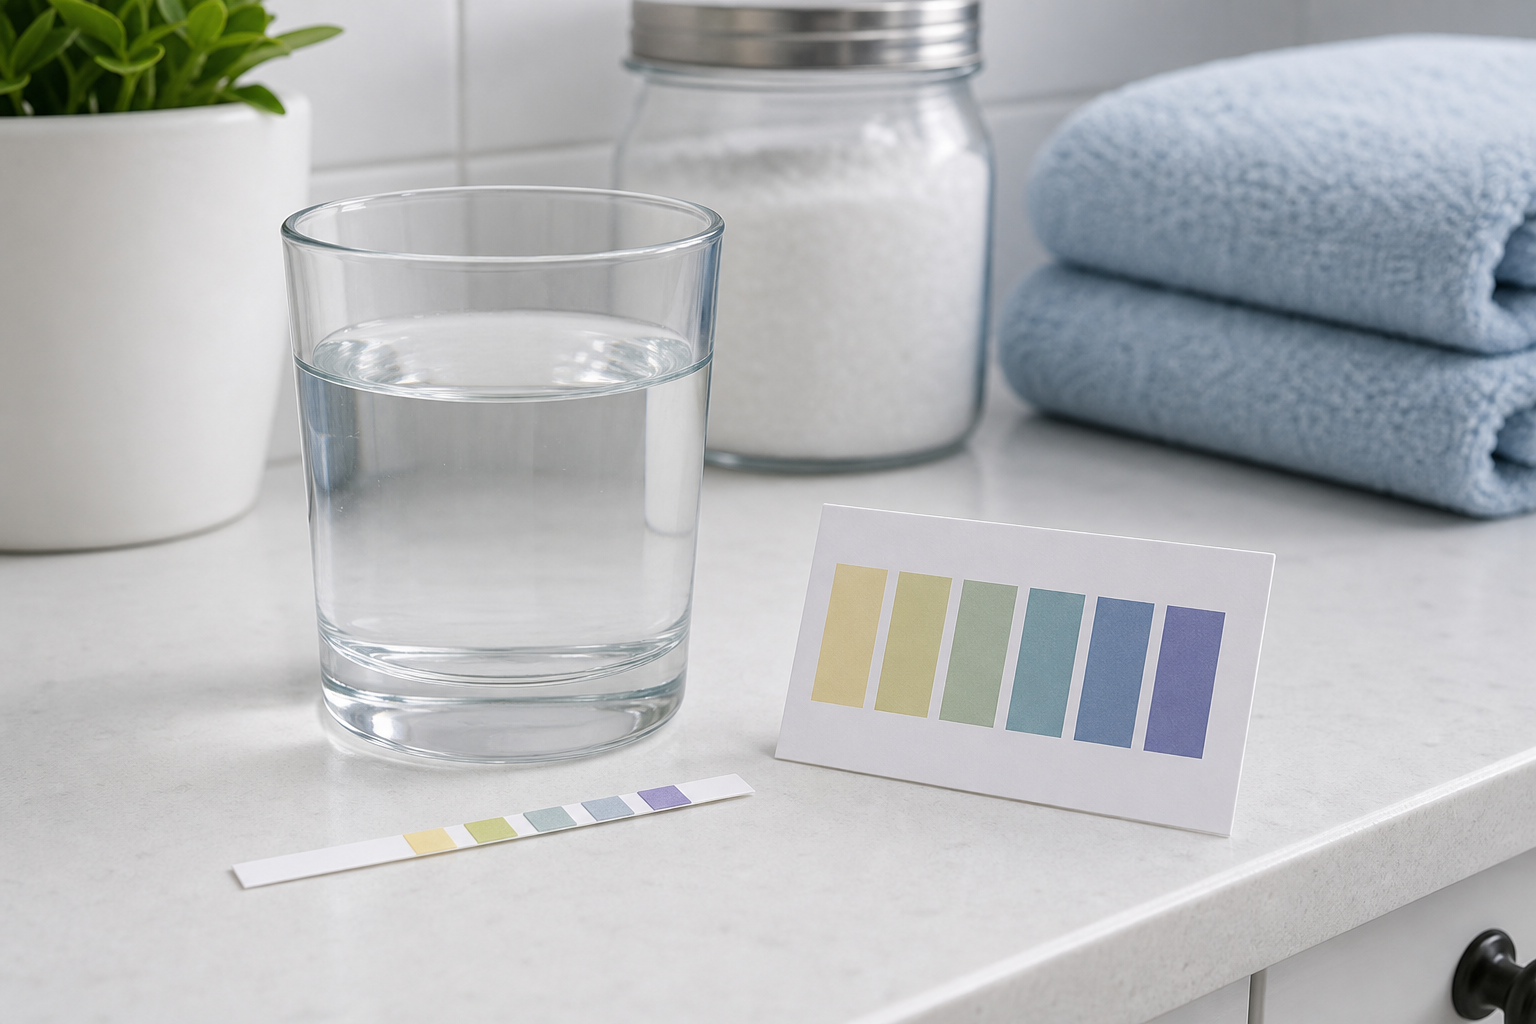
Set a timer. Do not try to count in your head while you clean up or look for the chart. When the stated reaction time is up, place the strip beside the matching chart on a plain, well-lit surface. Daylight or bright neutral indoor light is usually easier than warm, dim bathroom lighting.
Match the full color pattern, not just the darkest single pad. If the kit says to count changed pads, count them as its instructions describe. If it gives you several color blocks, choose the closest complete pattern. A borderline shade is a reason to repeat the test with a fresh strip, not a reason to pick the most dramatic reading.
4. Record What the Chart Actually Says
Write down the result exactly as shown, including the unit. For example: “kitchen tap, August 4, 2026, 120 mg/L as CaCO3” is far more useful than “water seems hard.” Take a photo of the strip next to the kit’s own chart only if the product instructions permit it, and use the written reading as your main record.
Why keep the unit? A number without ppm, mg/L, or grains per gallon can easily be misunderstood when you compare results later or talk with a treatment professional.
How to Understand the Units on the Chart
Water hardness shows up in several units. The kit should say which one it uses. Read the label before comparing your result with an online scale.
| Unit you may see | What it means | Practical note |
|---|---|---|
| mg/L as CaCO3 | Milligrams per liter expressed as calcium carbonate | Often used in water reports and is numerically close to ppm in water. |
| ppm | Parts per million | For hardness in water, it is commonly treated as approximately the same numeric value as mg/L. |
| gpg | Grains per gallon | Common in water-softener discussions; 1 gpg is approximately 17.1 mg/L as CaCO3. |
| Color block or pad count | The range defined by that kit | Use only the chart packaged with that exact product. |
USGS lists a commonly used classification of 0 to 60 mg/L as soft, 61 to 120 mg/L as moderately hard, 121 to 180 mg/L as hard, and more than 180 mg/L as very hard in its water-hardness reference. These labels are useful context, not a treatment prescription. A kit’s chart may group ranges differently, so keep the strip’s stated result first and use the broader scale second.
Want a plain-language walkthrough of the ranges? Our water hardness scale guide explains ppm, mg/L, and gpg without making the numbers feel like a chemistry exam.
A Quick Example of a Useful Record
Suppose your kit reports 7 gpg from the kitchen faucet. Don’t write down only “7.” Record the faucet, date, kit unit, and whether the water was sampled before or after any softener. If you later compare a laboratory report in mg/L, you will know that the two numbers use different units instead of assuming the water suddenly changed. This is especially useful when a household is troubleshooting scale or checking whether an existing softener is still reducing hardness.
Mistakes That Can Throw Off a Strip Result
Most bad strip readings are avoidable. Before you assume your water changed, check the method.
- Using an old, damp, or improperly stored strip. Keep strips sealed and follow the package storage date and conditions. Moisture or age can affect reactive pads.
- Comparing colors too early or too late. The listed reaction window matters. A pad can keep changing after the correct read time has passed.
- Using the wrong chart. Similar-looking strips from different brands can have different ranges, pad order, and color meanings.
- Testing a dirty glass or a faucet with a different water path. Rinse the sample container and identify the faucet before you begin.
- Reading under yellow or very dim light. If two colors are close, repeat the test in brighter neutral light rather than guessing.
- Treating one strip as a final diagnosis. Repeat a surprising result with a new strip, then choose a better measurement if the decision affects equipment or a private-well plan.
What if two fresh strips disagree? Check the expiry date, storage directions, sample faucet, dip time, and reaction time. If you still get different results, move up to a drop-count kit or laboratory test instead of averaging guesses.
What to Do After You Read the Strip
Your next move depends on why you tested in the first place.
If the Result Is Low or Moderate
Keep the record and compare it with what you notice at home. If you do not have scale, spots, appliance problems, or a treatment decision ahead, you may not need to do anything further. Municipal-water users can also compare their result with the utility’s water-quality report, while remembering that a utility value may not perfectly match the water at your faucet.
If the Result Is High or Very High
Confirm it before you spend money. A drop-count test or laboratory result can give you a more dependable number for a softener discussion, especially if you are comparing capacity or settings. When you are ready for that decision, use our water-softener sizing guide with a measured hardness result and your household water use.
If You Use a Private Well
Treat hardness as one part of a broader plan. CDC notes that private wells are not monitored in the same way as public water systems, so a hardness strip cannot replace appropriate well-water testing in its testing guidance. Our well-water testing guide can help you choose the next questions to ask a certified laboratory or local program.
Frequently Asked Questions
How long should I leave a water hardness test strip in water?
Use the exact dip time on the strip package. There is no safe universal number because different strip chemistries and charts use different instructions. Dip for the stated time, remove it as directed, and compare the colors at the stated reaction time.
What color means hard water on a test strip?
There is no universal hard-water color. Some kits use a progression of pads, while others use one or more color blocks. Match the whole pattern to the chart supplied with your exact strip and record the stated number and unit.
Are water hardness test strips accurate?
They can be useful for a range when they are stored, used, timed, and read according to their instructions. They are not the best choice when you need a precise number for equipment sizing, need to resolve conflicting results, or need a broader drinking-water analysis.
Can a hardness strip tell me whether my water is safe to drink?
No. It measures a hardness range, not every contaminant or microbiological concern. Use a test that matches your concern, especially for private-well water or a question about a specific contaminant.
The Bottom Line
Learning how to read water hardness test strips accurately comes down to consistency. Use a fresh sample, follow the exact package timing, compare the complete color pattern with the matching chart, and write down the number with its unit. If the result is high or does not fit what you are seeing at home, confirm it before choosing treatment. That simple pause can help you spend your money on the right next test instead of the wrong solution.